If you’ve ever wondered whether you can double your favorite jam recipe, you’re not alone. Many avid canners have heard the age-old advice not to double jam recipes. But is this really true? Can the cooking process really be affected by simply doubling the ingredients in the pot? Let’s dive in and find out!
Contents
- 1 The Benefits of Homemade Jam
- 2 Understanding the Cooking Process
- 3 Tips for Doubling Jam Recipes
- 4 Scaling Up Jam Recipes
- 5 Bulk Jam Making Tips
- 6 Lower Sugar Jam Recipes
- 7 Easy Mixed Berry Quick Jam Recipe
- 8 Storage and Usage Tips
- 9 Recommended Tools and Equipment
- 10 Conclusion
- 11 FAQ
- 11.1 Can jam recipes be doubled?
- 11.2 What are the benefits of homemade jam?
- 11.3 How does the cooking process of jam work?
- 11.4 Are there any tips for doubling jam recipes?
- 11.5 How can I scale up jam recipes?
- 11.6 What are some tips for bulk jam making?
- 11.7 Are there lower sugar jam recipes available?
- 11.8 Do you have an easy mixed berry quick jam recipe?
- 11.9 How should homemade jam be stored and used?
- 11.10 What tools and equipment are recommended for jam making?
- 11.11 Is it possible to double jam recipes?
- 12 Source Links
Key Takeaways:
- Doubling jam recipes can impact the cooking process due to increased cooking time and consistency challenges.
- It is generally recommended to make two smaller batches instead of doubling the recipe.
- Scaling up jam recipes or making jam in bulk are alternative methods for larger quantities.
- Low-sugar options and quick jam recipes offer alternatives for healthier or time-saving options.
- With the right tools, ingredients, and techniques, you can enjoy the process of making homemade jam and create delicious preserves your family will love.
The Benefits of Homemade Jam
Making homemade jam is a rewarding and enjoyable process. It allows you to control the ingredients and customize the flavors according to your preferences. Homemade jam also provides a sense of accomplishment and satisfaction, especially when using freshly picked fruits.
Canning your own jam is not only a cost-effective way to enjoy your favorite flavors, but it also allows you to preserve the abundance of summer fruits for the colder months. Plus, homemade jam makes for a thoughtful and delicious homemade gift.
Imagine spreading a spoonful of your homemade jam on a warm piece of toast or using it as a topping for yogurt or ice cream. The burst of flavor and sweetness from the fruit preserves is unmatched. When you make your own jam, you know exactly what goes into it – no artificial colors, flavors, or preservatives. You can handpick the best-quality fruit and create a jam that is truly exceptional.
Customize Your Jam
One of the greatest advantages of making homemade jam is the ability to customize the flavors. You can experiment with different fruit combinations, adjusting the sweetness and tartness to suit your taste. Maybe you prefer a tangy strawberry-rhubarb jam or a sweet and spicy peach-jalapeno jam – the possibilities are endless.
Not only can you create unique flavor profiles, but you can also cater to dietary restrictions and preferences. For example, if you follow a low-sugar diet, you can reduce the amount of sugar in your jam recipe or explore alternative sweeteners. Similarly, if you have allergies or sensitivities, you can omit certain ingredients or substitute them with suitable alternatives.
The Joy of Preserving
Preserving the bounty of summer fruits is a wonderful way to enjoy their flavors year-round. By canning your own jam, you can capture the freshness and goodness of the fruit at its peak. It’s like bottling up a taste of summer to savor during the colder months.
When you make homemade jam, you have control over the quality of the ingredients and the process of preservation. You can select ripe, high-quality fruits and ensure they are handled carefully to maintain their flavor and texture. The canning process locks in the natural freshness, allowing you to enjoy the taste of summer even when it’s snowing outside.
| Benefits of Homemade Jam | |
|---|---|
| Customizable flavors | Preserves the freshness of summer fruits |
| Control over ingredients and quality | Cost-effective compared to store-bought jams |
| Satisfaction and sense of accomplishment | Thoughtful and delicious homemade gift |
Whether you enjoy making homemade jam for yourself or sharing it with loved ones, the process is both satisfying and enjoyable. From the initial preparation to the final sealing of the jars, each step allows you to express your creativity and passion for preserving the flavors of nature.
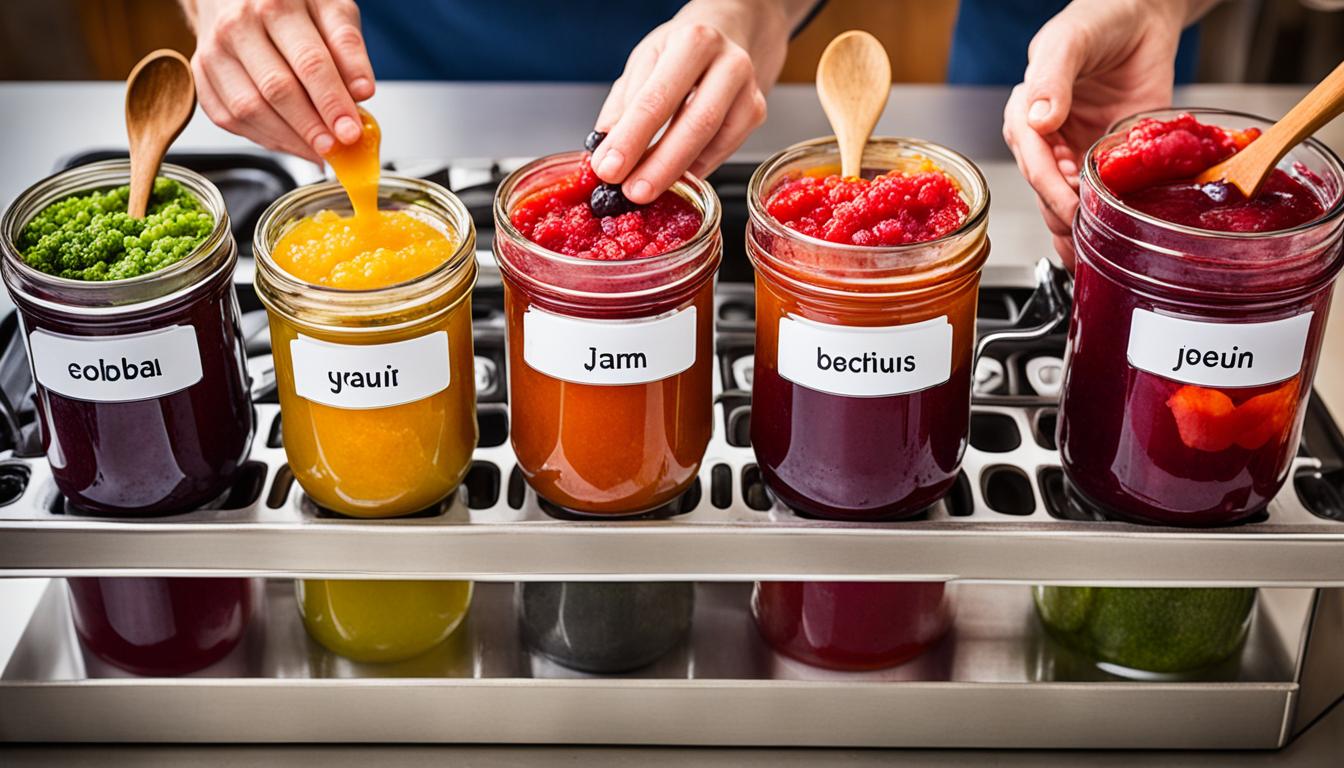
Nothing beats the vibrant colors and enticing aromas of homemade jam. The image above showcases a selection of homemade jams in different flavors and variations. The possibilities are endless when it comes to creating your own fruit preserves.
Understanding the Cooking Process
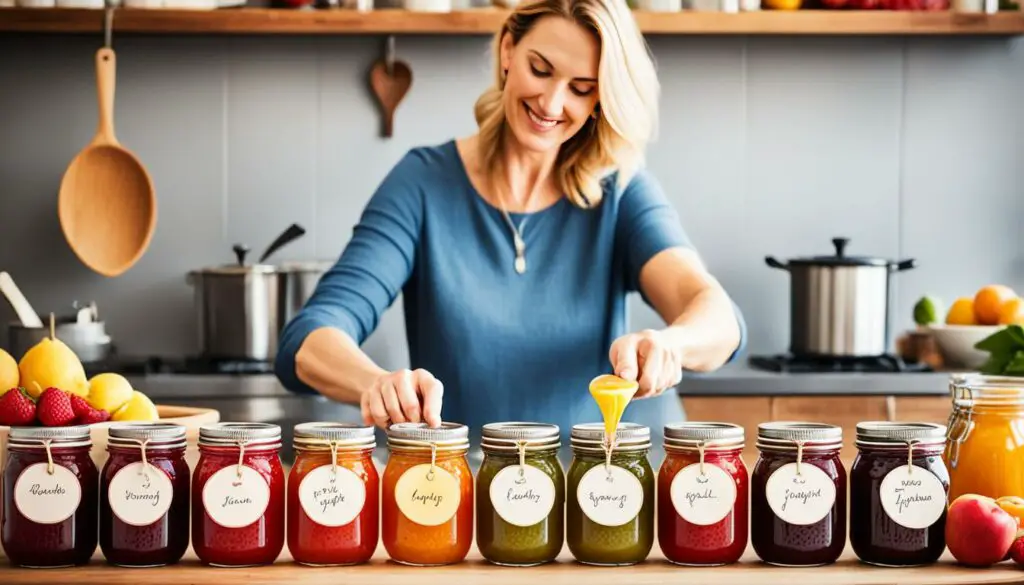
The cooking process of jam involves heating the fruit, sugar, and acid (usually lemon juice) mixture to a rolling boil. This process helps release the natural pectin in the fruit, which is responsible for thickening the jam. The wide pot surface area is important for faster evaporation of water, which leads to a quicker cooking time and better-textured jam.
When you double the quantity of jam in the pot, it takes longer for the increased amount to cook down, making it difficult to achieve the desired consistency.
As you can see in the image above, the wide pot surface area allows for efficient evaporation of water, which contributes to the cooking process. This helps concentrate the flavors and ensures the jam reaches the desired thickness.
The longer cooking time required for larger quantities can result in overcooking, leading to rubbery or burnt batches. It can also impede the natural setting process of the jam, resulting in a runny consistency.
The Impact of Evaporation on Cooking Time
Evaporation is a crucial element in the jam-making process. It helps remove excess water from the fruit, allowing the sugars and pectin to concentrate, resulting in a thick and flavorful jam. The wider the pot surface area, the faster the evaporation occurs.
The evaporation of water is essential for achieving the desired consistency and texture of jam. It allows the sugars to caramelize and the pectin to bind, creating a thick and spreadable preserve.
When doubling the quantity of jam in the pot, the increased volume of liquid takes longer to evaporate, prolonging the cooking time. This can lead to overcooked or unevenly cooked jam, affecting its taste and texture.
Cooking Time Considerations
The cooking time of jam depends on several factors, including the quantity of fruit, sugar, and acid used, as well as the pot’s surface area and heat intensity. Properly cooked jam reaches a temperature of around 220°F (104°C) and achieves a gel-like consistency upon cooling.
Cooking jam for too short a time can result in a runny and unstable texture, while overcooking can lead to a rubbery or burnt taste.
When scaling up jam recipes, it’s important to account for the increased cooking time required to evaporate the extra liquid. Adjustments to the cooking time may be necessary to ensure the jam reaches the proper consistency.
It’s worth noting that some recipes may include additional ingredients like commercial pectin to help with the gel formation and ensure a more consistent outcome when making larger batches.
| Quantity of jam | Cooking Time |
|---|---|
| Single batch | Approximately 20-30 minutes |
| Doubled batch | Approximately 30-45 minutes or more |
The table above illustrates the estimated cooking times for single and doubled jam batches. Keep in mind that cooking times can vary depending on the recipe, heat source, and desired consistency.
Understanding the cooking process and the impact of evaporation on cooking time is essential when making jam. It allows you to make informed decisions when it comes to scaling up recipes or adjusting cooking times to achieve the desired results.
Tips for Doubling Jam Recipes
While doubling jam recipes is not recommended, there are some tips you can follow if you still want to make a larger quantity of jam.
1. Use a larger pot: When doubling the recipe, using a larger pot that can accommodate the increased amount of ingredients is essential. This allows for better heat distribution and ensures that the jam cooks evenly.
2. Adjust the cooking time: Doubling the recipe will require a longer cooking time to allow the larger batch to cook down properly. Be patient and monitor the jam closely to achieve the desired consistency.
3. Consider using commercial pectin: Larger batches of jam may have more difficulty setting naturally. To help with the gel formation, consider using commercial pectin. Follow the instructions on the package for the recommended amount to use.
While these tips can improve the outcome when doubling jam recipes, it’s still advisable to make two separate batches for the best results. This ensures that each batch cooks evenly and maintains the desired texture.
Now that you have some tips for doubling jam recipes, let’s move on to the next section to explore scaling up jam recipes and making jam in bulk.
Scaling Up Jam Recipes
Want to make a larger quantity of jam without doubling the recipe? Scaling up jam recipes is a great way to meet your jam-making needs. By following a simple method, you can increase the amount of jam while maintaining the same ratio of ingredients.
Let’s say you have a recipe that calls for 2 cups of fruit and 1 cup of sugar. To make a larger batch, simply double or triple the quantities while keeping the same ratio. For example, you can use 4 cups of fruit and 2 cups of sugar to double the recipe, or 6 cups of fruit and 3 cups of sugar to triple it.
This scaling method ensures that the cooking time and consistency of the jam remain consistent. However, it’s important to use a pot with enough surface area to allow for proper evaporation of water. This helps maintain the texture and taste of the jam. Additionally, you may need to adjust the cooking time slightly to accommodate the increased quantity.
Scaling up jam recipes can be a convenient way to make a larger batch of your favorite jam without compromising on taste or quality. So go ahead and enjoy more of your homemade jam by multiplying the recipe to suit your needs!
| Doubling the Recipe | Scaling up the Recipe | |
|---|---|---|
| Cooking Process | Increased cooking time | Consistent cooking time |
| Consistency | May be affected by longer cooking time | Consistent consistency |
| Equipment Needs | No special equipment required | Ensure pot has enough surface area |
| Adjustments | No major adjustments needed | May need to slightly adjust cooking time |
Bulk Jam Making Tips
Making jam in bulk can be a time-saving and efficient way to preserve fruits during their peak season. To successfully make jam in larger quantities, it is important to have the right equipment and organization.
Use a Large, Wide Pot
When making bulk jam, use a large, wide pot that allows for maximum surface area and efficient evaporation of water. This will help in achieving the desired consistency and texture of the jam. A wider pot ensures better heat distribution and faster cooking.
Plan and Prepare
Prior to starting the jam-making process, plan and gather all the necessary ingredients and equipment. This will help streamline the process and make sure you have everything on hand. Clean and sanitize your jars and lids to ensure proper storage and preservation.
Label and Date Your Jars
Accurate labeling and dating of your jam jars is crucial for easy identification and usage. Use labels or stickers to mark the contents and date of preparation. This will help you keep track of the freshness and rotation of your jam stock.
Consider Using Canning Funnel and Jar Lifter
For ease and safety during the jam-making process, consider using a canning funnel and jar lifter. A canning funnel helps in pouring the jam mixture into the jars without any spills or mess. A jar lifter allows you to safely handle hot jars during the canning process.
Following these tips can make the bulk jam making process more manageable and enjoyable. With the right equipment and organization, you can efficiently make larger quantities of jam to enjoy year-round.
Lower Sugar Jam Recipes
If you’re concerned about the high sugar content in traditional jam recipes, there are alternative options available. You can experiment with low-sugar or no-sugar recipes that use fruit or sugar substitutes to achieve the desired sweetness. These recipes often rely on the natural sweetness of the fruit or use alternative sweeteners like honey or stevia.
Keep in mind that using different sweeteners may affect the texture and set of the jam, so follow recipes specifically designed for low-sugar options.
It’s always a good idea to taste and adjust the sweetness according to your preference.
| Low-Sugar Jam Recipe | Ingredients | Instructions |
|---|---|---|
| Strawberry Chia Seed Jam | 2 cups fresh strawberries, hulled and mashed | 1. In a saucepan, combine the mashed strawberries, chia seeds, and sweetener of your choice. 2. Cook on low heat, stirring frequently, until the mixture thickens to a jam-like consistency. 3. Remove from heat and let cool. 4. Transfer to a clean jar and refrigerate. |
| 2 tablespoons chia seeds | ||
| Sweetener of your choice (honey, stevia, etc.) |
Explore different low-sugar jam recipes to find the one that suits your taste buds. Remember to adjust the sweetness and experiment with different fruits and sweeteners to create unique flavors.
Enjoy the goodness of homemade jam with reduced sugar content, making it a healthier choice for you and your family.
Easy Mixed Berry Quick Jam Recipe
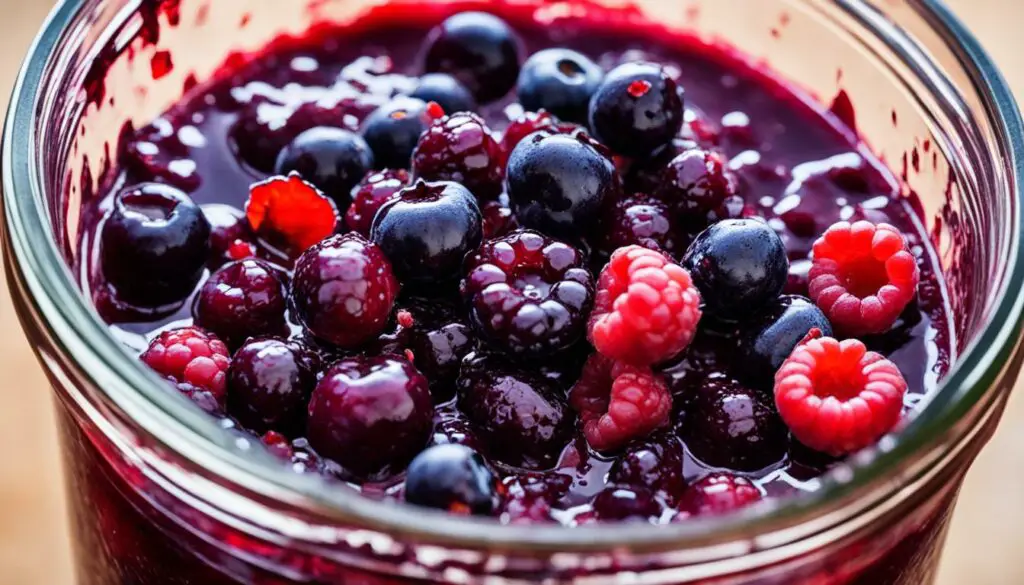
If you’re looking for a quick and easy homemade jam recipe, try this mixed berry jam. It requires only a few simple ingredients and can be made in less than 10 minutes.
Here’s what you’ll need:
- Thawed or fresh berries
- Lemon juice
- Real fruit pectin
- Granulated sugar
To make the jam, follow these steps:
- Combine the berries, lemon juice, pectin, and sugar in a large pot.
- Place the pot over medium heat and bring the mixture to a rolling boil, stirring frequently.
- Continue to boil the jam for about 5 minutes, or until it reaches the desired consistency. Keep in mind that the jam will thicken further as it cools.
- Remove the pot from the heat and let the jam cool for a few minutes.
- Transfer the jam to clean, sterilized jars and let it cool completely before sealing.
This mixed berry jam is perfect for spreading on toast, as a topping for yogurt, or as an ingredient in your favorite recipes. It’s also a great gift idea for friends and family!
Storage and Usage Tips
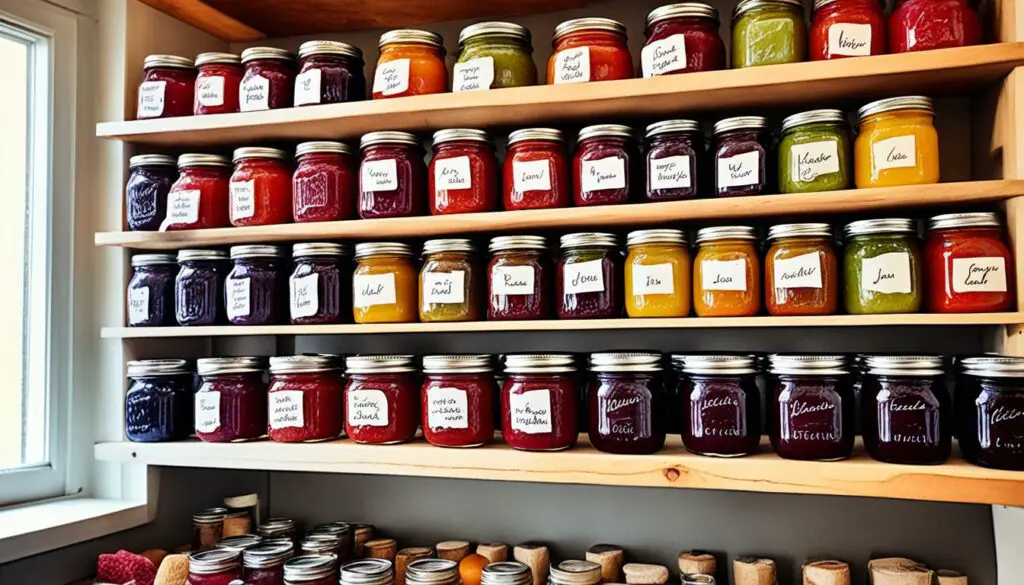
Proper storage is important to maintain the freshness and quality of homemade jam. After making the jam, transfer it to clean, sterile jars and seal them tightly.
Store the jars in the refrigerator for up to two weeks. If you want to extend the shelf life, you can also freeze the jam for up to six months.
When using homemade jam, be sure to use a clean utensil each time to prevent contamination.
Enjoy the jam on toast, in yogurt, as a topping for desserts, or in your favorite recipes.
| Jam Storage and Usage Tips | |
|---|---|
| Storage Method | Duration |
| Refrigeration | Up to 2 weeks |
| Freezing | Up to 6 months |
Recommended Tools and Equipment
To make homemade jam successfully, having the right tools and equipment can make the process easier and more efficient. Here are some recommended tools for jam making:
| Tool/Equipment | Description |
|---|---|
| Canning Pot | A large pot with a wide surface area, designed for boiling water bath canning. It’s ideal for heating and processing jars of jam. |
| Jar Lifter | A tool with gripping tongs that allows you to safely lift hot jars in and out of the canning pot, reducing the risk of burns. |
| Canning Funnel | A funnel specifically designed for pouring hot jam into jars, minimizing spills and mess. |
| Jars and Lids | Choose glass jars with airtight lids suitable for canning. Make sure they are clean and sterilized before use. |
| Large Spoon or Ladle | Used for stirring the jam mixture and scooping it into jars. |
| Measuring Cups and Spoons | Necessary for accurately measuring the ingredients for the jam recipe. |
| Cheesecloth or Muslin Cloth | Used for straining the fruit mixture, removing any seeds or pulp. |
| Candy Thermometer | Optional but useful for checking the temperature of the jam mixture, ensuring it reaches the desired setting point. |
Having these essential tools will help you navigate the jam-making process with ease and achieve delicious, homemade results.
Now that you have the right tools, let’s explore some techniques and adjustments for doubling jam recipes, scaling up quantities, and creating low-sugar options in the following sections.
Conclusion
While it is generally not recommended to double jam recipes due to the impact on cooking time and consistency, there are alternative methods for making larger quantities of jam. Scaling up recipes or making jam in bulk can be effective options if you follow the right techniques and adjustments. Additionally, exploring low-sugar options and quick jam recipes can provide alternatives for those looking for healthier or time-saving options. With the right tools, ingredients, and techniques, you can enjoy the process of making homemade jam and create delicious preserves your family will love.
FAQ
Can jam recipes be doubled?
It is generally not recommended to double jam recipes due to the impact on cooking time and consistency. Doubling the amount of jam in the pot can lead to issues such as rubbery batches, burning, and unset jam. It is usually better to make two smaller batches instead of doubling the recipe.
What are the benefits of homemade jam?
Homemade jam allows you to control the ingredients and customize the flavors according to your preferences. It is a cost-effective way to enjoy your favorite flavors and preserve the abundance of summer fruits for the colder months. Homemade jam also makes for a thoughtful and delicious homemade gift.
How does the cooking process of jam work?
Jam is cooked by heating a mixture of fruit, sugar, and acid (usually lemon juice) to a rolling boil. This process helps release the natural pectin in the fruit, which is responsible for thickening the jam. The wide pot surface area used in most jam recipes allows for faster evaporation of water and a quicker cooking time.
Are there any tips for doubling jam recipes?
While doubling jam recipes is not recommended, you can use a larger pot to accommodate the increased amount of ingredients and adjust the cooking time accordingly. Consider using commercial pectin to help with the gel formation, as larger batches may have more difficulty setting naturally. However, it is still advisable to make two separate batches for the best results.
How can I scale up jam recipes?
To make a larger quantity of jam without doubling the recipe, simply scale up the ingredients while maintaining the same ratio. For example, if a recipe calls for 2 cups of fruit and 1 cup of sugar, you can double or triple the quantities to make a larger batch. Just make sure to use a pot with enough surface area to allow for proper evaporation of water and adjust the cooking time as needed.
What are some tips for bulk jam making?
To successfully make jam in larger quantities, use a large, wide pot that allows for maximum surface area and efficient evaporation of water. Plan and prepare all the necessary ingredients and equipment before starting the process. Label and date your jars accurately for easy identification. Consider using a canning funnel and jar lifter for ease and safety.
Are there lower sugar jam recipes available?
Yes, if you’re concerned about the high sugar content in traditional jam recipes, you can experiment with low-sugar or no-sugar recipes that use fruit or sugar substitutes to achieve the desired sweetness. These recipes often rely on the natural sweetness of the fruit or alternative sweeteners like honey or stevia. Follow recipes specifically designed for low-sugar options.
Do you have an easy mixed berry quick jam recipe?
Yes, here is a quick and easy mixed berry jam recipe. Combine thawed or fresh berries, lemon juice, real fruit pectin, and granulated sugar in a pot and cook until the mixture reaches a rolling boil. Store the jam in the refrigerator for up to two weeks. This recipe can be easily doubled, but keep in mind the longer cooking time required for larger quantities.
How should homemade jam be stored and used?
After making the jam, transfer it to clean, sterile jars and seal them tightly. Store the jars in the refrigerator for up to two weeks. To extend the shelf life, you can freeze the jam for up to six months. When using homemade jam, use a clean utensil each time to prevent contamination. Enjoy the jam on toast, in yogurt, as a topping for desserts, or in your favorite recipes.
What tools and equipment are recommended for jam making?
Recommended tools for jam making include a large, wide pot for efficient evaporation of water, a canning funnel for easy pouring, and a jar lifter for safe removal of hot jars. Additional tools may include a thermometer for temperature accuracy and labels for proper jar identification.
Is it possible to double jam recipes?
While it is generally not recommended to double jam recipes due to the impact on cooking time and consistency, there are alternative methods for making larger quantities of jam. Scaling up recipes or making jam in bulk can be effective options if you follow the right techniques and adjustments. Additionally, exploring low-sugar options and quick jam recipes can provide alternatives for those looking for healthier or time-saving options. With the right tools, ingredients, and techniques, you can enjoy the process of making homemade jam and create delicious preserves your family will love.

