Originally posted on March 26, 2024 @ 7:44 pm
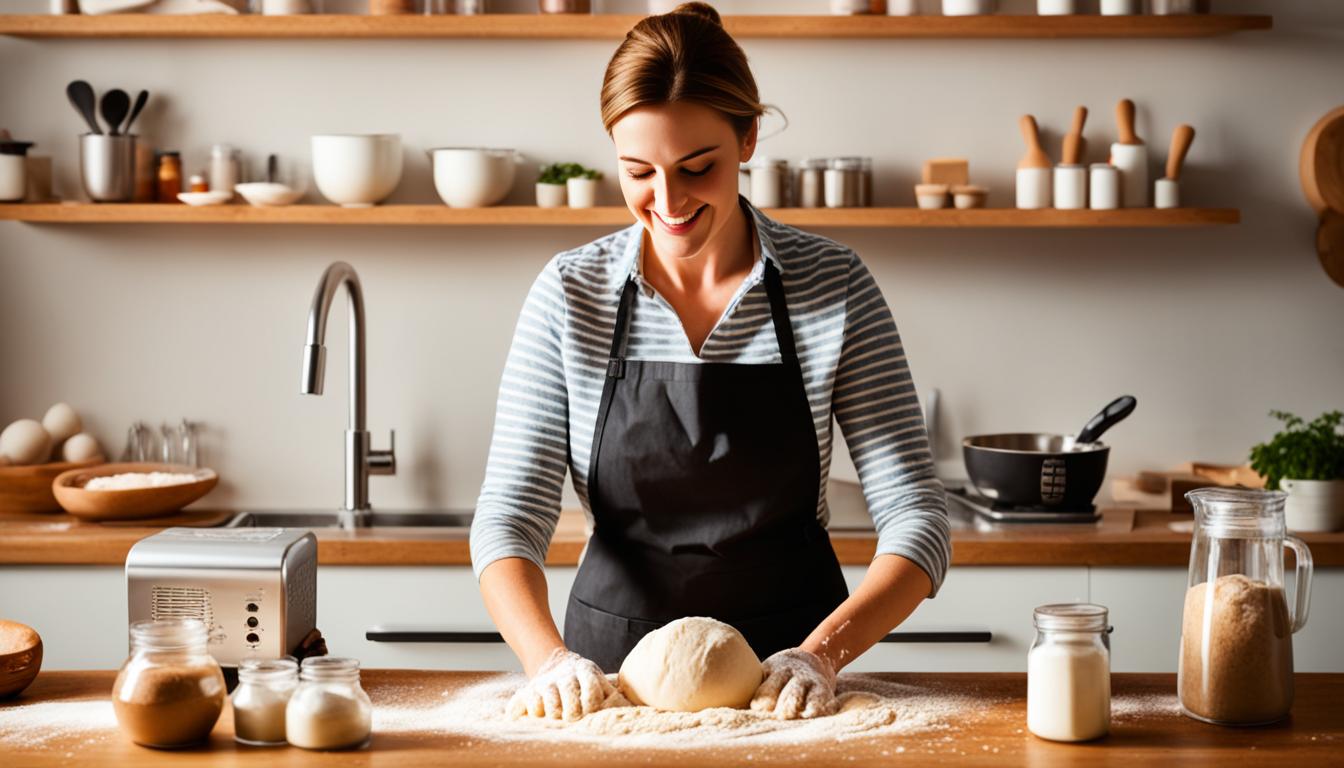
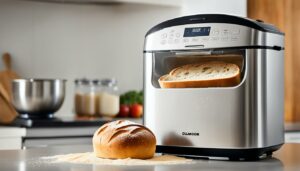
Can you use a bread machine recipe without a bread machine? The answer is yes! While a bread machine offers convenience, it’s not necessary to enjoy homemade bread. By adapting bread machine recipes and following some basic rules, you can recreate delicious bread by hand.
- You can adapt bread machine recipes for baking by hand.
- Understand your bread machine’s flour capacity to choose recipes that match.
- Consider mix-ins and yeast types when adapting bread machine recipes.
- Select the right cycle for optimal results.
- Add ingredients in the correct order for better bread machine performance.
Contents
- 1 Understanding Flour Capacity and Choosing Recipes
- 2 Managing Mix-Ins and Yeast Types
- 3 Selecting the Right Cycle
- 4 Adding Ingredients in the Correct Order
- 5 Troubleshooting and Alternative Baking Methods
- 6 Tips and Recommendations from Bread Machine Bakers
- 7 Exploring Bread Machine Alternatives and Recipes
- 8 Conclusion
- 9 FAQ
- 9.1 Can you use a bread machine recipe without a bread machine?
- 9.2 How do you adapt bread machine recipes for hand baking?
- 9.3 Can you add mix-ins to bread machine recipes?
- 9.4 What type of yeast is recommended for bread machine baking?
- 9.5 Which cycle should I choose for bread machine baking?
- 9.6 In what order should I add ingredients to my bread machine?
- 9.7 What should I do if I’m unhappy with the results of my bread machine loaf?
- 9.8 What tips do experienced bread machine bakers have?
- 9.9 Can I bake bread without a bread machine?
- 9.10 Is it possible to achieve artisanal baking without a bread machine?
- 10 Source Links
Understanding Flour Capacity and Choosing Recipes
To adapt bread machine recipes for hand baking, it’s important to understand the flour capacity of your specific machine. Typically, bread machines come in 1-pound, 1 1/2-pound, and 2-pound sizes. The flour capacity varies for each machine, ranging from 2 to 5 1/2 cups. Choose recipes that match your bread machine’s flour capacity to ensure the right proportion of ingredients. If a recipe requires less flour, you can still bake it in your machine, but the loaf might be slightly shorter. If the recipe exceeds your machine’s capacity, adjust the flour amount and other ingredients accordingly.
Understanding the flour capacity of your bread machine is crucial when adapting recipes for hand baking. The table below provides a guideline for different bread machine sizes and their respective flour capacities:
| Bread Machine Size | Flour Capacity |
|---|---|
| 1-pound | 2 to 3 cups |
| 1 1/2-pound | 3 to 4 cups |
| 2-pound | 4 to 5 1/2 cups |
By referring to this table, you can ensure that the recipes you choose align with your bread machine’s flour capacity. This will help you achieve successful results when baking without a bread machine.
Managing Mix-Ins and Yeast Types
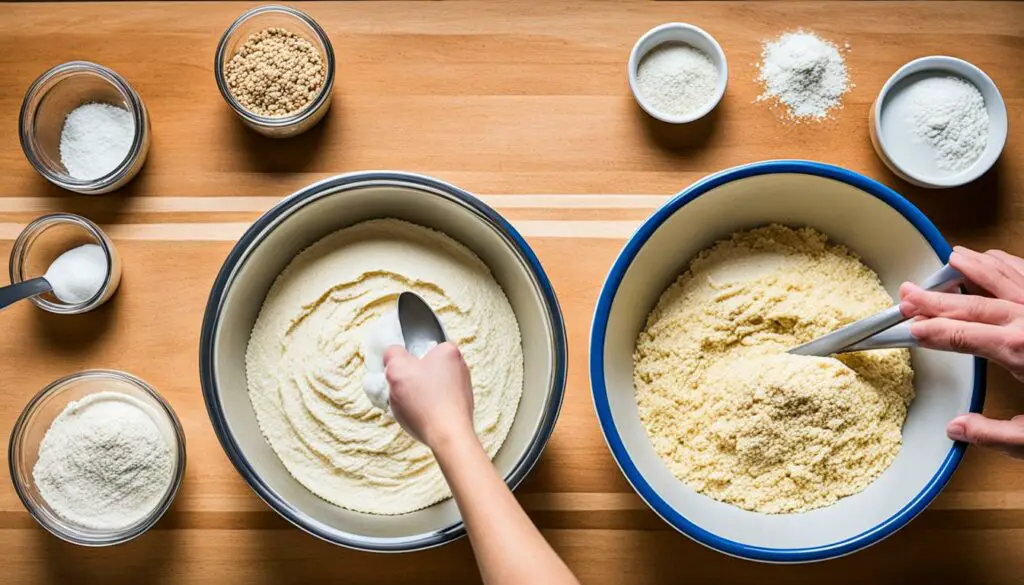
When adapting bread machine recipes, it’s important to consider mix-ins like fruit, nuts, and grains. These additions can add wonderful flavors and textures to your bread. However, it’s essential to be mindful of the capacity of your machine when adding mix-ins.
Adding too many dry ingredients can reduce the effective capacity of your machine, potentially resulting in unevenly baked bread. To avoid this, it’s important to choose recipes that don’t exceed the limits of your machine.
Mix-Ins for Bread Machine Recipes
When adding mix-ins to your bread machine recipes, follow these tips:
- Chop larger mix-ins into smaller pieces to ensure even distribution throughout the bread.
- Add mix-ins towards the end of the kneading cycle, or as indicated in the specific recipe, to prevent them from getting crushed or overmixed.
Experiment with different mix-ins to create unique and flavorful bread. Some popular options include:
- Dried fruits such as raisins, cranberries, or apricots
- Nuts like walnuts, pecans, or almonds
- Seeds such as sunflower seeds, flaxseeds, or sesame seeds
- Grains like oats, quinoa, or bulgur
Instant Yeast vs. Active Dry Yeast
Choosing the right yeast is crucial for successful bread baking. When it comes to bread machine recipes, using instant yeast is highly recommended.
Instant yeast, also known as fast-rise yeast or bread machine yeast, has several advantages:
- Fresher: Instant yeast has a longer shelf life compared to active dry yeast, ensuring that your bread rises properly.
- Convenient: Instant yeast can be added directly to the dry ingredients, eliminating the need for activation or proofing.
- Cost-effective: Instant yeast is usually more affordable than active dry yeast, making it a budget-friendly option for frequent bakers.
If a recipe calls for active dry yeast but you prefer to use instant yeast, you can make a simple substitution. Substitute 2 1/4 teaspoons of instant yeast for a packet of active dry or rapid yeast. This adjustment will help ensure proper rising and the desired texture in your bread.
In most cases, when using active dry yeast, proofing is unnecessary when following a bread machine recipe. However, if you have concerns about the freshness or viability of your yeast, proofing may be beneficial to ensure optimal results.
Selecting the Right Cycle
When using a bread machine, selecting the appropriate cycle is crucial to achieving the desired results. Bread machines typically offer a variety of cycle options, each tailored to specific types of bread. The right cycle can make a significant difference in the texture, flavor, and overall quality of your homemade bread.
For most bread recipes, starting with the basic cycle and a medium crust setting is a safe bet. The basic cycle is versatile and works well for a wide range of bread types, including those with whole grains. It provides ample time for kneading, rising, and baking, ensuring a well-developed loaf of bread.
If you prefer whole-grain bread, you may opt for the wheat cycle. This cycle is specifically designed to handle the denser texture of whole grains, providing more thorough kneading and longer rising times. However, it’s important to note that the basic cycle often yields similar results for whole-grain bread. Experiment with both cycles to determine which one suits your preferences best.
Avoid using the quick cycle when working with active dry yeast. The quick cycle is incredibly time-saving, but it may not allow sufficient time for the bread to rise properly. This can result in a dense and underdeveloped loaf. Reserve the quick cycle for recipes that call for rapid-rise yeast or when you’re short on time and willing to compromise on the texture.
Adding Ingredients in the Correct Order
The success of your homemade bread greatly depends on the order in which you add ingredients to your bread machine. It’s essential to follow the recommended order specified in your machine’s instruction booklet. Typically, liquids are added first, followed by flour and other dry ingredients.
While some older recipes may advise scalding the milk, this step is no longer necessary due to pasteurization. Instead, make sure your milk is at room temperature or slightly warm before adding it to the bread machine. This ensures that the yeast activates properly and allows the dough to rise effectively.
Remember: By adding ingredients in the correct order, you’ll achieve better results in your bread machine.
| Ingredient | Order of Addition |
|---|---|
| Liquids (water, milk, oil, etc.) | First |
| Flour | Second |
| Other dry ingredients (salt, sugar, yeast, etc.) | Last |
Following this order ensures that the ingredients mix evenly and that the yeast is properly activated for optimal bread baking. Be sure to double-check your specific bread machine’s instructions for any variations in the order of ingredients, as different models may have different recommendations.
Troubleshooting and Alternative Baking Methods
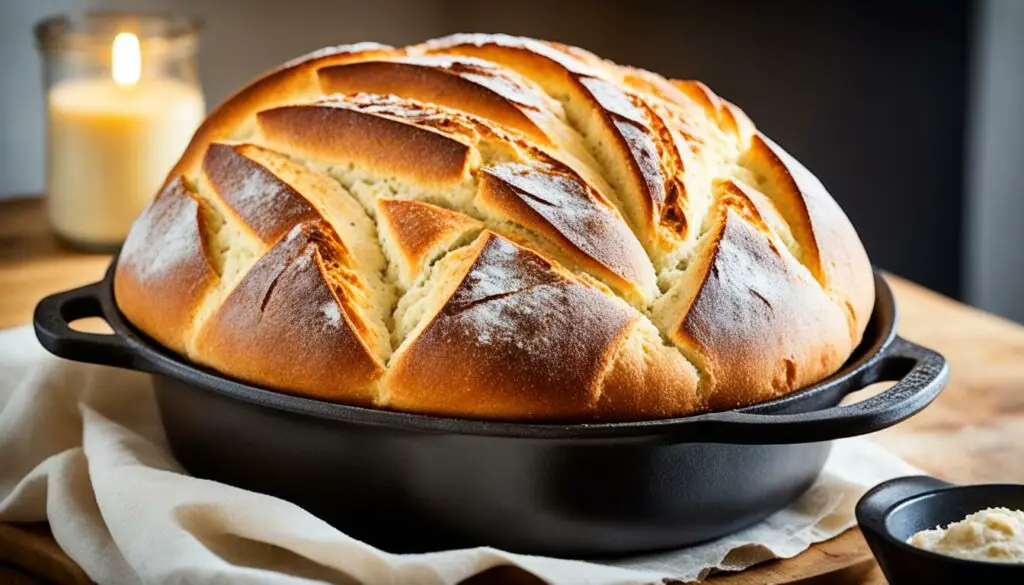
If you’re unhappy with the results of a bread machine loaf, there are solutions. One option is to remove the dough from the machine during the dough (manual) cycle, shape it, and bake it in a regular oven. This method allows you to achieve a different texture and crust.
Additionally, if your bread machine consistently produces loaves that rise and then fall, consider reducing the yeast amount by one-third. Adjusting yeast or using alternative baking methods can help troubleshoot any issues.
When you remove the dough from the machine and bake it in the oven, you have more control over the final result. The oven’s heat distributes more evenly, resulting in a crustier and more satisfying loaf. It also gives you the freedom to experiment with different shapes, like baguettes or buns. By baking bread machine dough in the oven, you can achieve bakery-quality results while still enjoying the convenience of a bread machine recipe.
Pro Tip: If you’re unsure whether the dough is ready for shaping and baking, perform the “windowpane test.” Take a small piece of dough and stretch it gently. If you can stretch it thin enough to see light passing through without tearing, the dough is ready.
Alternative Baking Methods
Aside from transferring the dough to the oven, there are other alternative baking methods you can try:
- Bake the dough in a Dutch oven or cast iron skillet. These vessels help trap steam, creating a crisp crust.
- Use a baking stone or steel to replicate a hearth-style result. Preheat the stone or steel in the oven to mimic the intense heat of a professional oven.
Troubleshooting Common Issues
Here are some common issues bread machine bakers face and their possible solutions:
| Issue | Solution |
|---|---|
| The loaf is too dense. | Check that you used the correct amount of liquid and flour. Adjust the yeast amount accordingly, and ensure the dough is well-kneaded. |
| The loaf doesn’t rise enough. | Ensure the yeast is fresh and active. If necessary, increase the yeast amount slightly. Place the dough in a warm, draft-free area to encourage proper rising. |
| The crust is too thick or dark. | Reduce the baking time or lower the oven temperature slightly. Cover the loaf with aluminum foil if it’s browning too quickly. |
Experimenting with alternative baking methods and troubleshooting common issues can help you achieve the perfect loaf of bread. Don’t be afraid to adapt recipes and make adjustments to suit your preferences. With practice and persistence, you’ll become a skilled bread baker in no time.
Tips and Recommendations from Bread Machine Bakers
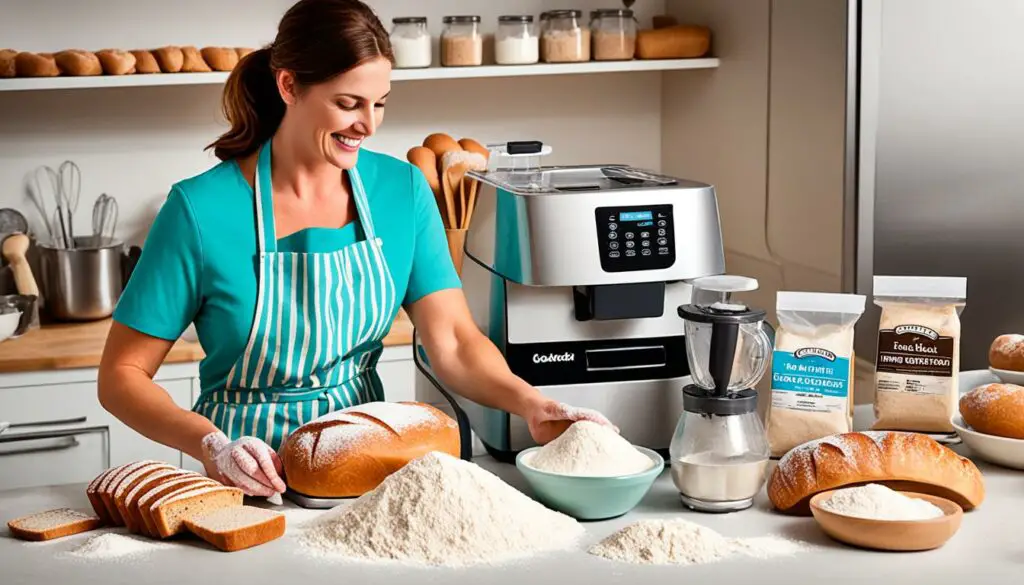
If you’re new to bread machine baking, or even if you’re an experienced baker looking to enhance your skills, these tips and recommendations from fellow bread machine enthusiasts can help you achieve delicious results. From activating yeast separately to using specific cycles, these bread machine hacks are worth trying in your next baking adventure.
- Activate Yeast Separately: For improved yeast activation and bread rise, some bakers prefer activating yeast separately before adding it to the machine. This involves dissolving the yeast in warm water or milk, along with a teaspoon of sugar, and allowing it to sit for a few minutes until it becomes foamy. This step ensures the yeast is active and ready to do its job in the bread machine.
- Mixing and Proofing Only: To have more control over your bread’s texture and crust, consider using the bread machine solely for mixing and proofing the dough. Once the dough is ready, remove it from the machine and shape it by hand. This method allows you to customize the shape and size of your loaves while incorporating a personal touch.
- Measure Ingredients in Advance: To save time and streamline your bread-making process, consider measuring the ingredients for multiple loaves in advance. You can use small containers or resealable bags to store the pre-measured ingredients, allowing for quick and easy assembly when you’re ready to bake. This hack is especially handy for busy bakers who want to ensure consistent results.
- Tweak Ingredients for Personal Preference: Many bread machine bakers have found success in tweaking ingredients to suit their personal taste preferences. For example, you can experiment with different types of flour, such as whole wheat or bread flour, to achieve desired texture and flavor. Adjusting other ingredients like sugar, salt, or oil can also create variations that match your taste buds.
- Utilize Specific Cycles: Each bread machine offers a variety of cycles designed for different types of bread. Experimenting with these cycles can lead to optimal results. For example, using the whole grain cycle when baking bread with whole wheat or other grains can provide better texture and rise. Be sure to consult your bread machine’s instruction manual for guidance on selecting the most suitable cycle for your desired bread type.
Bread Machine Hack – Quote:
“I’ve found that using the whole wheat cycle with added oats and honey creates the perfect loaf for my morning toast. It’s heartier and more flavorful, and the texture is amazing.” – Jane, avid bread machine baker
Drawing inspiration from these bread machine tips and hacks, you can confidently explore the art of bread making with your trusty bread machine. Understanding when to activate yeast separately, utilizing specific cycles, and personalizing your ingredients will elevate your baking experience and result in bread that’s tailored to your preferences.
With these insider tips and tricks, you’re well on your way to becoming a pro bread machine baker. Stay tuned for more bread machine hacks and get ready to enjoy delicious, homemade bread that’s made with love and expertise.
Exploring Bread Machine Alternatives and Recipes
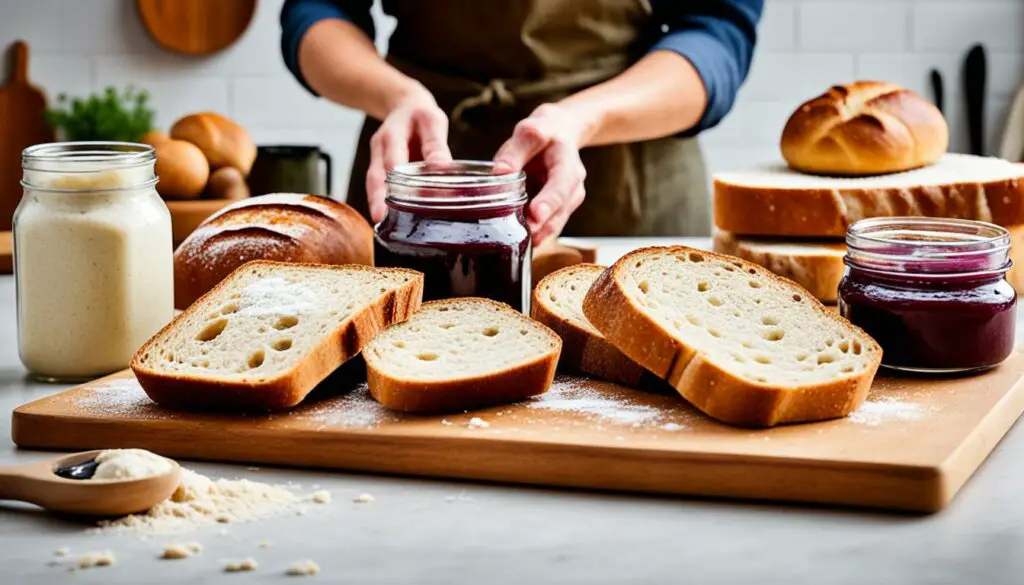
While the bread machine offers convenience, there are alternative methods for achieving similar results. If you don’t have a bread machine, you can still pick recipes that require hand kneading and rising. Focaccias, flatbreads, and pizza doughs are popular options that can be prepared using the bread machine to mix and knead the dough, followed by manual shaping and baking. By exploring different bread machine alternatives, you can expand your baking repertoire.
One of the most versatile bread machine alternatives is making focaccia. This Italian bread is known for its soft and airy texture, and it’s perfect for serving as an appetizer or alongside a main course. Here’s a simple recipe for a delicious homemade focaccia:
Homemade Focaccia Recipe
Ingredients:
- 2 1/4 cups all-purpose flour
- 1 teaspoon salt
- 1 teaspoon sugar
- 1 package (2 1/4 teaspoons) instant yeast
- 1 cup warm water (about 110°F)
- 2 tablespoons olive oil, divided
- 1 tablespoon dried rosemary
- Sea salt, for sprinkling
Instructions:
- In a large mixing bowl, combine the flour, salt, sugar, and instant yeast.
- Add the warm water and 1 tablespoon of olive oil to the dry ingredients.
- Stir until a sticky dough forms.
- Knead the dough on a floured surface for about 5 minutes, until it becomes smooth and elastic.
- Place the dough in a greased bowl, cover with a clean kitchen towel, and let it rise in a warm place for about 1 hour, or until it doubles in size.
- Preheat your oven to 425°F (220°C).
- Grease a baking sheet with the remaining olive oil and transfer the risen dough onto it.
- Using your fingers, gently press the dough to spread it out into a rectangular shape (about 1/2-inch thick).
- Poke indentations on the surface of the dough with your fingertips.
- Sprinkle the dried rosemary and sea salt over the dough.
- Bake in the preheated oven for 20-25 minutes, or until the focaccia turns golden brown.
- Remove from the oven and let it cool slightly before cutting into squares or strips.
This homemade focaccia recipe showcases an alternative method for creating delicious bread without a bread machine. By following the simple steps and using basic ingredients, you can enjoy a flavorful and satisfying homemade focaccia.
Aside from focaccia, you can also explore other bread machine alternatives like flatbreads and pizza doughs. These recipes generally involve mixing and kneading the dough using a bread machine and then shaping and baking the bread manually. These alternative methods give you the flexibility to experiment with different toppings, flavors, and textures to create unique and personalized bread creations.
Now, let’s take a look at a classic flatbread recipe:
Classic Flatbread Recipe
Ingredients:
- 2 cups all-purpose flour
- 1 teaspoon salt
- 1 teaspoon sugar
- 1 package (2 1/4 teaspoons) instant yeast
- 3/4 cup warm water (about 110°F)
- 2 tablespoons olive oil
Instructions:
- In a large mixing bowl, combine the flour, salt, sugar, and instant yeast.
- Add the warm water and olive oil to the dry ingredients.
- Stir until a dough forms.
- Knead the dough on a floured surface for about 5 minutes, until it becomes smooth and elastic.
- Place the dough in a greased bowl, cover with a clean kitchen towel, and let it rise in a warm place for about 1 hour, or until it doubles in size.
- Preheat your oven to 450°F (230°C).
- Divide the dough into small portions and roll each portion into a thin circle or oval shape.
- Place the rolled dough on a baking sheet and brush the top with olive oil.
- Bake in the preheated oven for 8-10 minutes, or until the flatbreads turn golden brown around the edges.
- Remove from the oven and let them cool slightly before serving.
These recipes are just a starting point for exploring bread machine alternatives. You can customize the flavors and experiment with different ingredients to create your own unique bread recipes. With a little creativity and experimentation, you’ll discover a whole new world of bread baking possibilities without relying on a bread machine.
Conclusion
Baking bread without a bread machine opens up a world of artisanal possibilities right in your own kitchen. With a little know-how and experimentation, you can recreate the joy of homemade bread without relying on a machine.
Understanding your machine’s flour capacity and selecting recipes that match it is crucial for success. By using the correct ingredients and cycles, you can adapt bread machine recipes to suit hand baking. Don’t be afraid to explore alternative methods and incorporate tips from experienced bakers to further enhance your skills.
Whether you choose to use a bread machine or not, the satisfaction of homemade bread is within your reach. Enjoy the process of creating delicious loaves with your own two hands, and savor the flavors and textures of artisanal bread made right at home.
FAQ
Can you use a bread machine recipe without a bread machine?
Yes, it’s possible to adapt bread machine recipes for baking by hand.
How do you adapt bread machine recipes for hand baking?
To adapt bread machine recipes for hand baking, understand the flour capacity of your machine, choose recipes that match the capacity, and adjust the ingredients accordingly.
Can you add mix-ins to bread machine recipes?
Yes, you can add mix-ins like fruit, nuts, and grains, but be mindful of the machine’s capacity and adjust the recipe accordingly.
What type of yeast is recommended for bread machine baking?
Instant yeast is more cost-effective and fresher than active dry yeast. Substitute 2 1/4 teaspoons of instant yeast for a packet of active dry or rapid yeast.
Which cycle should I choose for bread machine baking?
It’s recommended to start with the basic cycle and a medium crust setting. The basic cycle suits different types of bread, including those with whole grains.
In what order should I add ingredients to my bread machine?
Follow your machine’s instruction booklet for the recommended order. Typically, liquids are added first, followed by flour and other dry ingredients.
What should I do if I’m unhappy with the results of my bread machine loaf?
One option is to remove the dough from the machine during the dough (manual) cycle, shape it, and bake it in a regular oven. Adjusting yeast or using alternative baking methods can also help troubleshoot issues.
What tips do experienced bread machine bakers have?
Some suggestions include activating yeast separately, using the machine for mixing and proofing only, and measuring ingredients for multiple loaves in advance.
Can I bake bread without a bread machine?
Yes, you can still pick recipes that require hand kneading and rising. Focaccias, flatbreads, and pizza doughs are popular options that can be prepared using the bread machine to mix and knead the dough, followed by manual shaping and baking.
Is it possible to achieve artisanal baking without a bread machine?
Absolutely. By adapting bread machine recipes for hand baking, you can enjoy the hands-on approach to artisanal bread making.

