Originally posted on February 10, 2024 @ 8:18 am
Are you looking for a convenient way to organize and share your favorite recipes? Microsoft Word has got you covered! With Word’s easy-to-use features, you can create a recipe template that suits your style and needs. Whether you’re a seasoned cook or just getting started, having a recipe template in Word can save you time and effort in the kitchen.
Creating a recipe template in Word is a straightforward process that allows you to design and customize your own recipe cards. You can easily add fillable fields to your template, making it user-friendly for yourself and others who may use it. Plus, Word offers options for saving and sharing your template, so you can keep your favorite recipes organized and accessible.
Contents
- 1 Setting up the Document
- 2 Designing the Recipe Card
- 3 Adding Fillable Fields
- 4 Saving and Sharing Your Template
- 5 A Cookbook Template for Microsoft Word
- 6 Steps to Create a Cookbook Template
- 7 Benefits of Using Styles in Cookbook Templates
- 8 Tips for Designing a Successful Cookbook
- 9 Conclusion
- 10 FAQ
- 10.1 Does Word have a recipe template?
- 10.2 How do I set up the document for a recipe template?
- 10.3 How do I design the recipe card in Word?
- 10.4 How can I add fillable fields to my recipe template?
- 10.5 How do I save and share my recipe template?
- 10.6 Can I create a cookbook template in Microsoft Word?
- 10.7 What are the steps to create a cookbook template in Word?
- 10.8 How can using styles benefit my cookbook template?
- 10.9 What tips can you provide for designing a successful cookbook?
- 10.10 What are the benefits of using recipe and cookbook templates in Word?
- 11 Source Links
Key Takeaways:
- Microsoft Word provides the capability to create a recipe template for organizing and sharing your favorite recipes.
- You can set up the document by adjusting the page orientation and margins to accommodate the necessary information.
- Designing the recipe card involves selecting appropriate fonts, creating a header section, and dividing the card into different sections for ingredients, instructions, cooking time, and more.
- Adding fillable fields to the template allows users to enter their own information easily.
- Saving and sharing the template is simple, as you can save it as a Word Template file format and share it through various methods.
Setting up the Document
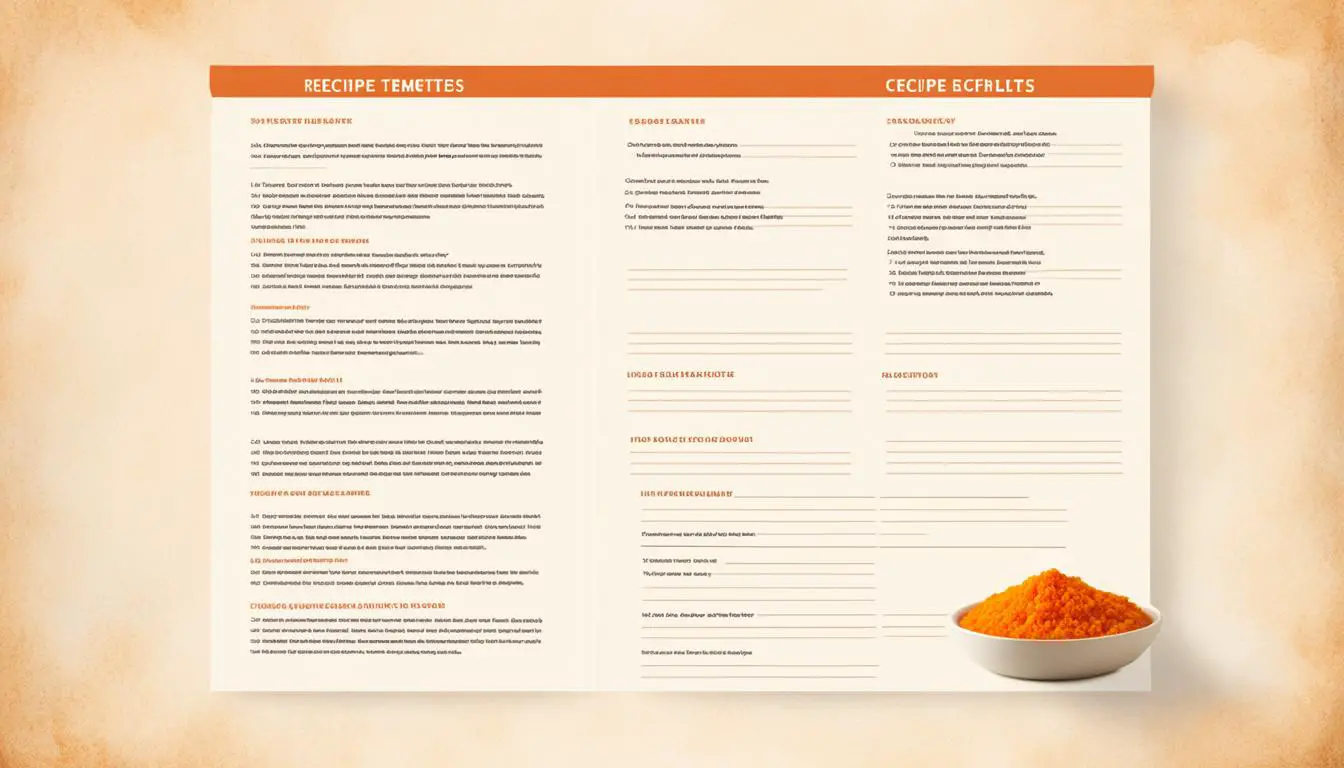
To start creating your recipe card template in Word, you need to set up the document correctly. Follow these steps:
Step 1: Open a New Document
Open Microsoft Word and create a new document. This will serve as the foundation for your recipe card template.
Step 2: Set the Page Orientation
Choose the appropriate page orientation for your recipe card template. You can opt for either portrait or landscape, depending on your preference and the amount of information you want to include.
Step 3: Adjust the Page Margins
Next, adjust the page margins to ensure there is enough space for all the necessary information on your recipe card. Consider the size of the recipe card and the content you plan to include.
Tip: A landscape orientation provides more horizontal space, ideal for recipes with longer ingredient lists or instructions.
By following these steps, you’ll have your document set up and ready to design your recipe card template.
Designing the Recipe Card
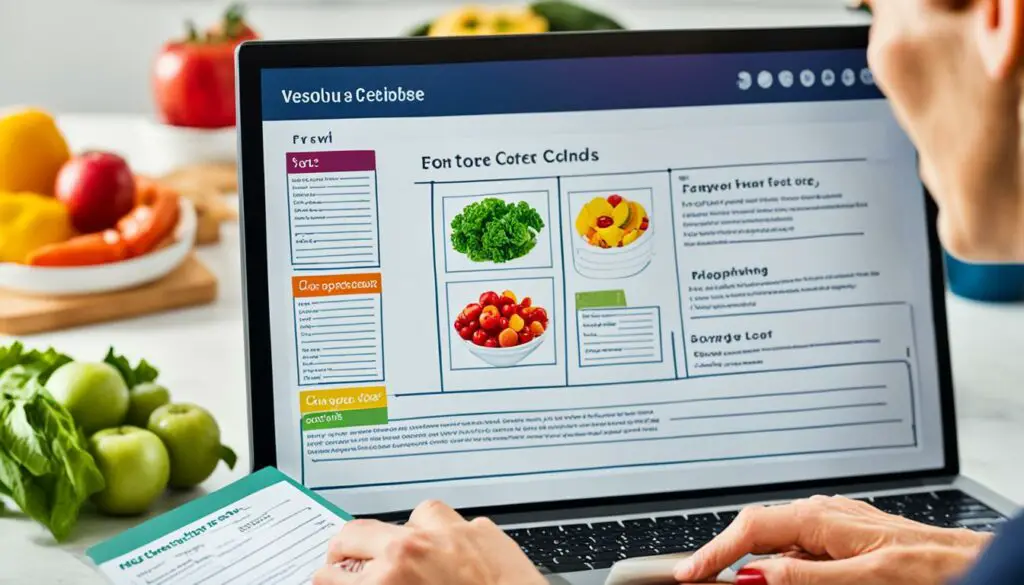
When creating your recipe card template, it’s essential to pay attention to the design elements that will make it visually appealing and easy to read. Here are some key considerations:
Selecting Font Style and Size
Choose a clear and legible font style for both the headings and the body text of your recipe card. Opt for fonts like Arial, Helvetica, or Times New Roman. Additionally, ensure your font size is large enough to be easily read, typically between 10 and 12 points.
Creating a Prominent Header Section
The header section of the recipe card should stand out and include essential details such as the recipe name or category. Use a larger font size or different font style for the header to make it visually distinct.
(keywords: designing the recipe card)
Dividing the Card into Different Sections
To enhance the organization and readability of the recipe card, divide it into different sections using text boxes or tables. This allows for a clear separation of information such as ingredients, instructions, cooking time, and serving size.
| Section | Description |
|---|---|
| Ingredients | List all the required ingredients for the recipe |
| Instructions | Provide step-by-step instructions for preparing the dish |
| Cooking Time | Specify the duration required to cook the recipe |
| Serving Size | Indicate the number of servings the recipe yields |
Adding Fillable Fields
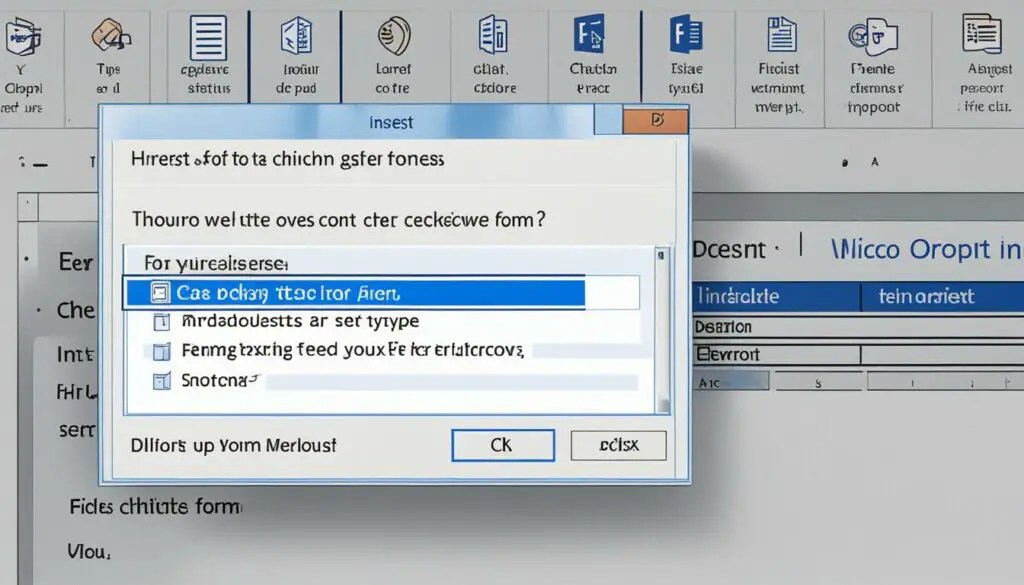
To make your recipe card template more interactive and user-friendly, you can add fillable fields where users can enter their own information. This allows them to customize the template according to their preferences and specific recipe details. Adding fillable fields is a simple yet effective way to enhance the functionality of your recipe card template in Microsoft Word.
Here’s how you can add fillable fields to your recipe card template:
- Access the developer tab in Word’s toolbar: To add fillable fields, you need to enable the developer tab in Microsoft Word. This tab provides various tools and options for customizing and programming your document. If you don’t see the developer tab in your toolbar, you can enable it by going to File ➡ Options ➡ Customize Ribbon and then selecting the Developer checkbox.
- Add text form fields: With the developer tab enabled, you can now add text form fields to the selected sections of your recipe card template. These text form fields allow users to input their desired information, such as ingredient quantities, cooking instructions, or additional notes. Simply place your cursor in the desired location in your template, click on the “Text Form Field” option under the Controls group in the developer tab, and a fillable field will be inserted.
- Customize the fillable fields: Once the fillable fields are added, you can customize them to suit your needs. Right-click on a fillable field and select “Properties” from the context menu. In the properties window, you can change the name of the field, set default text or instructions, specify the maximum length of the input, and modify other properties according to your requirements. This allows you to tailor the fillable fields to match the specific information you want to collect.
By incorporating fillable fields into your recipe card template, you provide a seamless and interactive experience for users. They can easily enter their own information without the need to print and write on a physical recipe card. This not only saves time but also allows for easy editing and sharing of recipes.
Example of Fillable Fields in a Recipe Card Template:
| Field | Example |
|---|---|
| Recipe Name | |
| Ingredients | |
| Instructions | |
| Cooking Time | |
| Serving Size |
Saving and Sharing Your Template

Once you have finished designing your recipe card template and adding all the necessary fillable fields, the next step is to save it for future use. Saving your template ensures that you can easily access and reuse it whenever you need to create new recipe cards.
To save your template, follow these simple steps:
- Click on the File tab in the top left corner of the Word window.
- From the drop-down menu, select Save As.
- In the Save As dialog box, choose a location on your computer or network where you want to save the template.
- Give your template a descriptive name, so it’s easy to identify later.
- In the Save as type field, select Word Template (*.dotx) as the file format.
- Click Save to save your template.
Now that you have saved your recipe card template, it’s time to share it with others. There are several options for sharing your template:
- Email: You can attach the template file to an email and send it directly to the recipient.
- File-sharing platforms: Upload the template to a file-sharing platform, such as Google Drive or Dropbox, and share the link with others.
- Website link: If you have a website or blog, you can create a downloadable link to the template so that others can easily download it.
By sharing your recipe card template, you can help others save time and effort in creating their own stylish and functional recipe cards.
A Cookbook Template for Microsoft Word
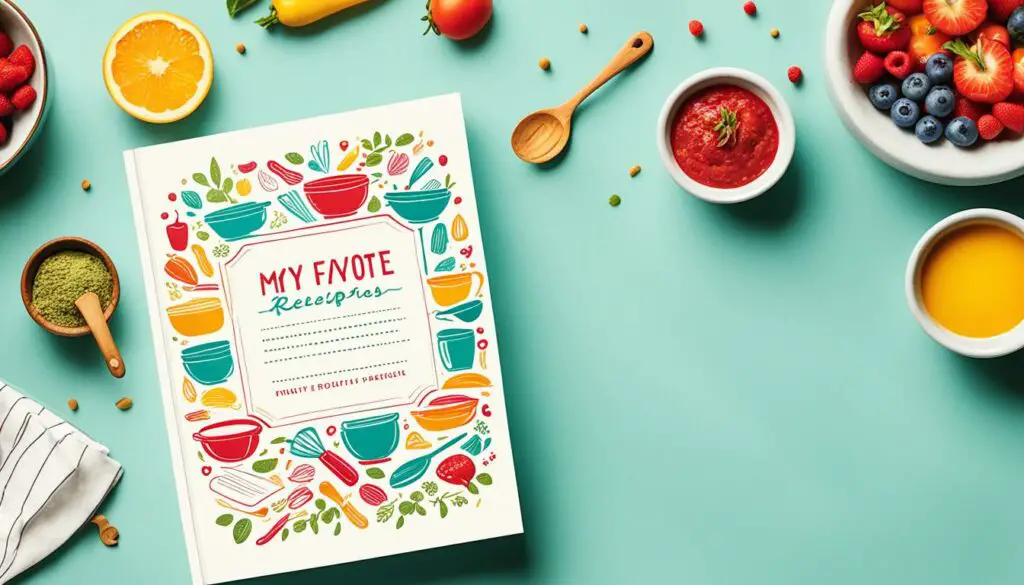
In addition to recipe card templates, Microsoft Word also offers options for creating full cookbooks. If you’re looking to compile your favorite recipes into a beautiful and cohesive cookbook, Microsoft Word can be a valuable tool. By utilizing pre-designed cookbook templates available on websites like Template.net, you can easily create a professional-looking cookbook that suits your style and design preferences.
Here’s how you can get started:
- Open Microsoft Word on your computer.
- Search for pre-designed cookbook templates on websites like Template.net.
- Pick out a cookbook template that resonates with your vision and preferences.
By following these simple steps, you can find a cookbook template that provides the structure and layout you need for organizing and presenting your collection of recipes.
Pros and Cons of Using Cookbook Templates
| Pros | Cons |
|---|---|
| Time-saving: Templates provide a ready-made structure, saving you time and effort in designing your own layout. | Limitations: The chosen template may not perfectly align with your unique design preferences. |
| Consistent formatting: Cookbook templates ensure a consistent and professional look throughout your entire cookbook. | Limited customization: Some templates may offer limited customization options, restricting your ability to add unique design elements. |
| Easy organization: Templates often include pre-defined sections for ingredients, instructions, and other essential details. | Restrictive structure: Certain templates may not offer the flexibility to accommodate unconventional or complex recipe formats. |
Using a cookbook template in Microsoft Word can significantly simplify the process of creating a visually appealing and well-organized cookbook. While there may be limitations in terms of customization, the overall convenience and professional look make it a worthwhile option for both beginners and experienced cookbook creators.
Steps to Create a Cookbook Template
To create a cookbook template in Microsoft Word, follow these simple steps:
Step 1: Open Microsoft Word
Open Microsoft Word on your computer to begin the template creation process.
Step 2: Search for a Template
Go to the “File” menu and select “New.” In the search bar, type “cookbook template” to find available options.
Step 3: Download Template
Select a cookbook template that fits your style and needs. Click on the template to download it to your computer.
Step 4: Design the Covers
Customize the covers of your cookbook template by adding your own images, text, and graphics. Design a cover that captures the essence of your cookbook.
Step 5: Create a Table of Contents
Organize your recipes by creating a table of contents. List the recipe names and corresponding page numbers to make it easy for readers to navigate through the cookbook.
Step 6: Add Recipes
Add your recipes to the template by inserting text boxes or tables. Include the ingredients, instructions, and any additional details you want to share.
Step 7: Include Photos
Enhance your cookbook template with mouthwatering photos of your prepared dishes. Insert the photos alongside the recipes to give readers a visual representation of the final outcome.
Step 8: About the Author
Share a brief bio about yourself as the author of the cookbook. Include your name, background, and any relevant information that will help readers connect with you.
Step 9: Save the Cookbook Template
Once you have customized the template to your satisfaction, save it as a separate file. This way, you can use the template repeatedly without altering the original version.
By following these steps, you can create a beautiful and functional cookbook template in Microsoft Word.
Benefits of Using Styles in Cookbook Templates
When creating cookbook templates, using styles is essential for achieving consistent formatting throughout the entire document. Styles provide a unified design for headings, text, and other elements, resulting in a cohesive and visually appealing layout.
Consistent formatting: Applying styles ensures that all headings, paragraphs, and other text elements have a consistent appearance. This consistency enhances readability and makes the cookbook template visually pleasing.
Easy navigation: Styles make it easier for readers to navigate through the cookbook template. By using heading styles, you can create a clear hierarchy of information, making it simple for users to find specific sections or recipes.
Working with styles: With Microsoft Word’s built-in style options, you can easily modify and customize the styles used in your cookbook template. Whether you want to change the font, adjust the spacing, or add special formatting, working with styles allows for quick and efficient updates.
By utilizing styles in your cookbook templates, you can elevate the overall design, improve readability, and ensure a user-friendly experience for your readers.
| Benefits of Using Styles in Cookbook Templates |
|---|
| Consistent formatting |
| Easy navigation |
| Working with styles |
Tips for Designing a Successful Cookbook
Designing a successful cookbook involves several key considerations to ensure an attractive and user-friendly final product. By paying attention to these design tips, you can create a visually appealing and easy-to-read cookbook that will delight readers and inspire them to try your delicious recipes. Let’s explore some essential design elements:
Capture the Essence with High-Quality Recipe Photos
A picture is worth a thousand words, and this holds true for cookbooks as well. Including high-quality recipe photos can entice readers and make them eager to recreate your dishes. Invest in good photography or utilize professional stock images to showcase your recipes visually.
Choose Fonts and Colors that Complement the Theme
The right choice of fonts and colors can greatly enhance the visual appeal of your cookbook. Select fonts that are easy to read and match the overall theme and style of your book. Use colors that harmonize with the recipes and create a visually cohesive experience for your readers.
Embrace Simplicity for Clutter-Free Designs
A clutter-free design ensures that your cookbook is easy to navigate and understand. Avoid overwhelming your readers with excessive elements or overly complicated layouts. Embrace simplicity to highlight the recipes and make them the focal point of your cookbook.
Personalize with Notes or Anecdotes
Make your cookbook feel more personal by adding unique notes or anecdotes alongside the recipes. This personal touch can create a stronger connection with your readers and make the cooking experience even more enjoyable.
By incorporating these cookbook design tips – utilizing high-quality recipe photos, choosing appropriate fonts and colors, keeping the design simple and clutter-free, and adding personalization – you can create a cookbook that not only shares delectable recipes but also visually captivates and engages your audience.
| Design Tips | Benefits |
|---|---|
| High-quality recipe photos | – Attracts readers |
| Fonts and colors that complement the theme | – Enhances visual appeal |
| Simplicity for clutter-free designs | – Easy navigation |
| Personalization with notes or anecdotes | – Creates a personal connection |
By considering these design tips, you can design a successful cookbook that not only showcases your culinary creations but also delights and inspires your readers.
Conclusion
Creating recipe and cookbook templates in Word can significantly simplify the process of organizing and presenting your favorite recipes. The customizable designs available in Microsoft Word allow you to tailor your templates to suit your personal style and preferences. With user-friendly fillable fields, you can easily input and update your recipe information, making it accessible for future use.
One of the key benefits of using cookbook templates is the ease of sharing your culinary creations with others. With Word’s versatile sharing options, you can effortlessly distribute your templates via email, file-sharing platforms, or even create a downloadable link on your website. Whether you’re a home cook wanting to share your family recipes or a professional chef looking to publish your own cookbook, Word provides the necessary tools to bring your culinary vision to life.
By creating recipe and cookbook templates in Word, you can streamline your recipe management process, save time, and maintain consistency in your recipe collection. From recipe card templates to full-fledged cookbooks, Word offers a range of options to suit your needs. So why wait? Start exploring the world of recipe templates in Word today and share your love for food and cooking with others!
FAQ
Does Word have a recipe template?
Yes, Microsoft Word offers the capability to create a fillable recipe card template.
How do I set up the document for a recipe template?
To start creating your recipe card template in Word, open a new document and set the page orientation and margins.
How do I design the recipe card in Word?
Design the recipe card by selecting a font style and size, creating a header section, and dividing the card into different sections.
How can I add fillable fields to my recipe template?
Access the developer tab, add text form fields, and customize them in Word’s toolbar.
Save the template as a Word Template file format and share it via email, file-sharing platforms, or your website.
Can I create a cookbook template in Microsoft Word?
Absolutely! You can search for pre-designed cookbook templates and customize them to create your own cookbook.
What are the steps to create a cookbook template in Word?
Open Microsoft Word, search for a cookbook template, download it, and customize the covers, table of contents, recipes, photos, and author information.
How can using styles benefit my cookbook template?
Using styles ensures consistent formatting throughout the document and easy navigation for readers.
What tips can you provide for designing a successful cookbook?
Consider factors such as high-quality recipe photos, fonts and colors, simplicity in design, and adding personal touches like notes or anecdotes.
What are the benefits of using recipe and cookbook templates in Word?
Benefits include customizable designs, user-friendly fillable fields, and easy sharing options to organize and showcase your recipes.

