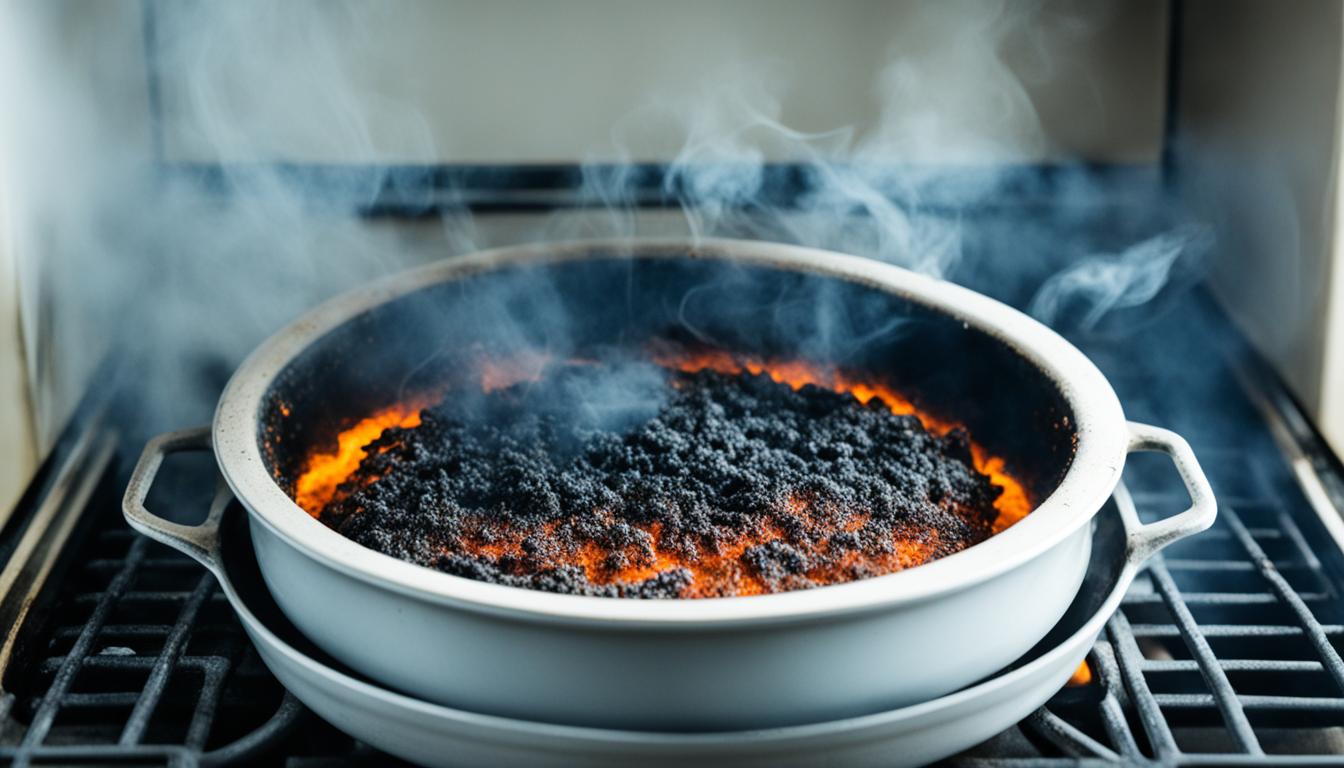
Have you ever followed a recipe step by step, only to end up with a disappointing outcome? It can be frustrating when your culinary efforts don’t turn out as planned, leaving you wondering what went wrong. But fear not, because we’re here to uncover the common reasons why a recipe doesn’t work sometimes. Get ready to dive into the world of recipe troubleshooting as we uncover the top culprits behind recipe failures.
Contents
- 1 Reason 1: Old Dead Yeast.
- 2 Reason 2: Recipe Liquid Is Too Hot.
- 3 Reason 3: The Kitchen Is Too Cold.
- 4 Reason 4: Not Enough Time To Rise.
- 5 Reason 5: The Wrong Size Pan.
- 6 How to Salvage Dough That Didn’t Rise.
- 7 Common Reasons for Dry Cakes.
- 8 The Impact of Ingredient Substitutions.
- 9 Proper Mixing Techniques for Moist Cakes.
- 10 Conclusion.
- 11 FAQ
- 11.1 Why does a recipe not work sometimes?
- 11.2 What is the reason for a recipe not rising properly?
- 11.3 How can I prevent yeast from dying and ensure proper rising?
- 11.4 Why does overheating the recipe liquid affect yeast activity?
- 11.5 How can I combat a cold kitchen affecting yeast fermentation and dough rising?
- 11.6 Why is sufficient rise time important for bread dough?
- 11.7 How does the pan size affect the rising of bread dough?
- 11.8 What can I do with dough that didn’t rise properly?
- 11.9 What are common reasons for dry cakes?
- 11.10 How do ingredient substitutions impact the outcome of cakes?
- 11.11 What mixing techniques contribute to moist cakes?
- 11.12 How can recipe troubleshooting improve my baking skills?
- 12 Source Links
Key Takeaways:
- There are several common reasons why a recipe may not yield the desired results.
- Old dead yeast, overheating the recipe liquid, cold kitchen temperatures, insufficient rise time, and using the wrong size pan are some of the main culprits.
- Proper troubleshooting techniques can help address these issues and ensure successful recipe outcomes.
- Understanding the potential reasons behind recipe failures can enhance your baking skills and lead to consistent delicious results.
- Don’t get discouraged by recipe failures; embrace them as opportunities to learn and grow as a baker.
Reason 1: Old Dead Yeast.
Dry, inactive yeast can live for years if stored properly. However, yeast that has been exposed to fluctuating temperatures or stored in a hot warehouse may be dead. To prevent this, always store freshly purchased yeast in an airtight container in the freezer. Proper yeast storage ensures that the leavening agent is active and capable of making dough rise.
| Common Culprits of Dead Yeast | Proper Yeast Storage Techniques |
|---|---|
| Exposure to fluctuating temperatures | Store yeast in an airtight container |
| Storage in a hot warehouse | Keep yeast in the freezer |
When yeast is stored correctly, it stays viable for a long time, ensuring that your bread rises beautifully. By understanding the importance of proper yeast storage and taking necessary precautions, you can avoid the disappointment of using old dead yeast.
Related Articles:
- How to Troubleshoot Recipe Failures: Common Issues and Solutions
- Proper Baking Techniques for Perfectly Fluffy Bread
Reason 2: Recipe Liquid Is Too Hot.
Recipes that call for active dry yeast often require dissolving the yeast in warm water. If the recipe liquid, which may include fat, is too hot, it can kill off yeast cells. Yeast is sensitive to temperature and requires a narrow range to thrive. To ensure the proper temperature, use a kitchen thermometer to test the water and avoid overheating the liquid ingredients.
When working with yeast, it’s important to understand the ideal temperature range. Generally, a temperature between 100°F and 110°F (38°C and 43°C) is recommended for activating active dry yeast. If the liquid is too hot, it can lead to overheating and the death of yeast cells, resulting in failed dough rising.
Using a kitchen thermometer is a simple and effective way to accurately measure the temperature of the recipe liquid. Here’s how:
- Fill a glass or mug with the recipe liquid.
- Insert the kitchen thermometer into the liquid, ensuring that the probe is immersed but not touching the bottom or sides of the container.
- Wait a few seconds for the thermometer to stabilize and record the temperature.
By using a kitchen thermometer, you can easily determine if the recipe liquid is within the recommended temperature range and make any necessary adjustments. This simple step can significantly improve the success of your bread recipes.
Remember, precise temperature control is essential when working with yeast. Overheating the liquid can have adverse effects on yeast activity and the overall outcome of your baked goods. Take the extra minute to measure the recipe liquid temperature with a kitchen thermometer and enjoy perfectly risen bread every time.
Recommended Temperature Range for Recipe Liquids
| Recipe Liquid | Recommended Temperature Range |
|---|---|
| Water | 100°F – 110°F (38°C – 43°C) |
| Milk | 95°F – 105°F (35°C – 41°C) |
| Other Liquids (e.g., broth, juice) | Depends on the specific recipe |
Reason 3: The Kitchen Is Too Cold.
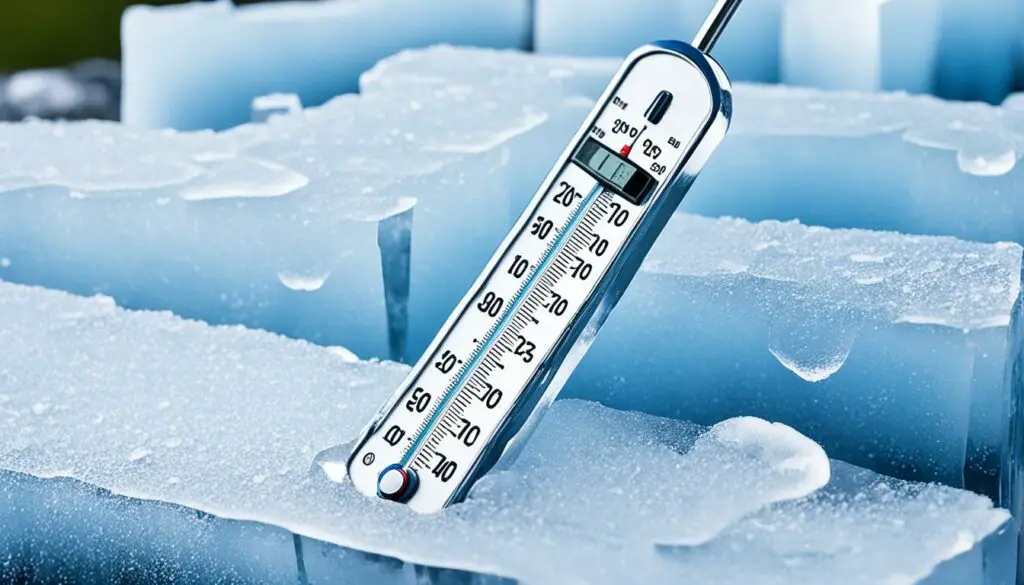
One of the common culprits behind failed bread rising is a cold kitchen temperature. Yeast, the microorganism responsible for fermentation and dough rising, has a preferred temperature range of 75°F to 90°F (24°C to 32°C). If the kitchen is too cold, the yeast may struggle to activate and eventually die, resulting in disappointing flat loaves.
To maintain the ideal temperature for yeast activity, bakers have come up with various techniques. One effective method is to turn on the oven for a few minutes, allowing it to warm up, and then turn it off. Placing the dough inside the oven creates a warm environment that encourages yeast growth and dough rising. Another practical technique is to place the dough on top of the refrigerator. The warmth generated by the appliance can help offset the cold kitchen temperature, providing a cozy spot for the yeast to thrive.
By implementing these techniques for maintaining warmth in a cold kitchen, bakers can ensure that their dough rises properly and yields delicious, fluffy loaves of bread.
Expert Tip
“To keep the yeast happy and active, you have to make sure the environment is warm enough. Don’t let a cold kitchen temperature hinder your bread-making success. Use these simple techniques to create the perfect warm spot for your dough to rise.”
Reason 4: Not Enough Time To Rise.
Patience is a crucial ingredient in the art of bread-making. Dough requires sufficient time to rise and develop its flavor and texture. However, the rise time can be influenced by various factors, including room temperature, yeast activity, and the type of flour used. In today’s fast-paced world, where instant results are expected, it’s important to understand the importance of allowing dough the time it needs to rise properly.
When following a recipe, it’s common for bakers to eagerly await the dough’s rise, only to feel disappointed when it doesn’t happen as quickly as expected. But fear not! A longer rise time can often result in a more flavorful and well-textured bread. So, if your dough hasn’t risen as much as you anticipated, don’t lose hope. Instead, give it more time to ferment and develop those delicious flavors.
Consider adjusting your expectations and allowing the dough to rise at its own pace. The rise time can vary depending on numerous factors, including the ambient temperature, the quality of the yeast, and the specific recipe. Rushing the dough won’t yield the same results as giving it the time it needs to work its magic.
Remember, patience is the secret ingredient when it comes to dough rising. Embrace the process, enjoy the anticipation, and savor the final outcome.
| Factors Affecting Rise Time | Effect on Rise Time |
|---|---|
| Room Temperature | A warm environment speeds up the rise, while a cooler environment slows it down. |
| Yeast Activity | Fresher yeast, stored and handled properly, has greater activity and leads to quicker rising. |
| Type of Flour | Different flours have varying levels of protein and gluten, which can affect how rapidly the dough rises. |
Reason 5: The Wrong Size Pan.
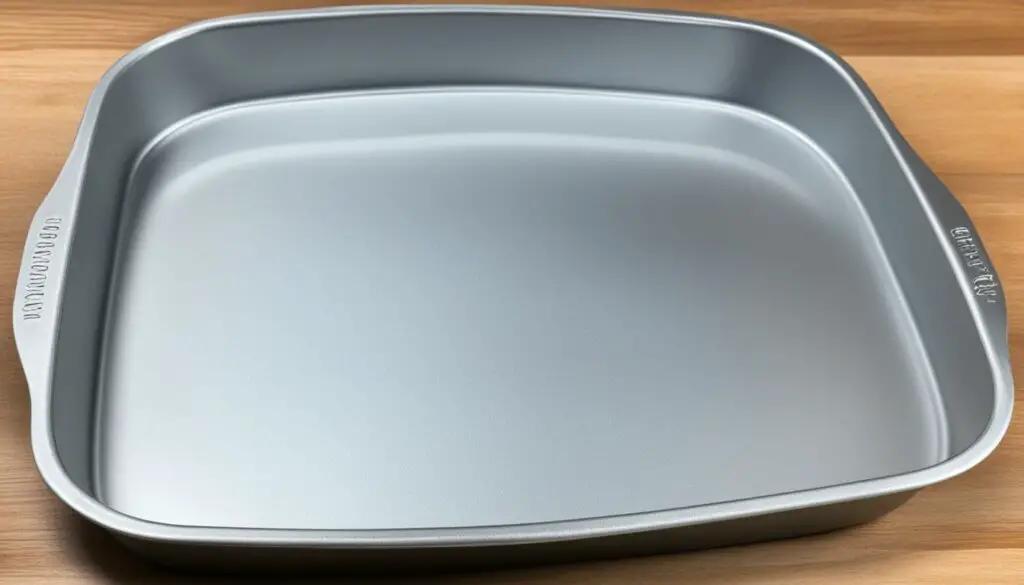
Sometimes, the issue with a loaf not looking like it has risen is not due to failed rising but rather the pan being too large for the amount of dough. Choosing the appropriate pan size is crucial for achieving optimal rise and shape.
A general rule of thumb is to use an 8-1/2 x 4-1/2 inch pan for recipes with approximately 3 cups of flour, a 9 x 5 inch pan for recipes with around 4 cups of flour, and a 10 x 5 inch pan for recipes with about 4-1/2 cups of flour.
Selecting the right pan size ensures that the loaf looks properly risen and baked.
Choosing the right pan size is crucial for achieving optimal rise and shape in your loaf. Using a pan that is too large for the amount of dough can give the impression that the bread hasn’t risen properly, when in fact it is a size issue. By following the general guidelines for pan sizes based on the amount of flour in your recipe, you can ensure that your loaf looks properly risen and baked.
How to Salvage Dough That Didn’t Rise.

Just because dough doesn’t rise as intended doesn’t mean it’s a complete loss. There are several creative ways to repurpose dough that didn’t rise, turning it into delicious alternatives. Here are some ideas:
- Homemade Crackers: Roll out the failed dough thinly, sprinkle with your favorite herbs and spices, and bake it until crispy. Cut into crackers and serve with dips or spreads.
- Open Fire Cooking: Flatten the dough and cook it directly over an open fire, turning it into rustic bread or bannock. Add your own twist by incorporating ingredients like cheese, herbs, or dried fruits.
- Flatbreads: Shape the dough into flatbreads and either grill them or cook them on a stovetop griddle. Serve them as a side dish or use them as a base for sandwiches or wraps.
- Fried Dough: Cut the dough into small pieces and fry them until golden brown. Sprinkle with cinnamon sugar or serve them with butter and honey for a sweet treat.
- Toasted Salad Croutons: Toast slices of the failed dough in the oven until they become crispy. Break them into small pieces and use them as homemade salad croutons for added texture and flavor.
These are just a few examples of how to repurpose dough that didn’t rise. Get creative in the kitchen and explore different flavors and textures. Don’t let a failed rise discourage you from enjoying delicious and unique creations!
Common Reasons for Dry Cakes.
Dry cakes can be frustrating, especially when you meticulously follow a recipe. There are several common reasons for dry cakes, including measuring ingredients improperly by packing down the flour or forgetting to add an ingredient. These mistakes can lead to an imbalance in the recipe and result in a dry texture.
When measuring ingredients, it’s essential to do it properly to ensure accuracy. Avoid packing down the flour, as this can lead to using too much and throwing off the balance of the cake batter. Instead, spoon the flour into the measuring cup and level it off with a straight edge.
In addition to measuring ingredients properly, it’s crucial to double-check that all required ingredients are added. Forgetting to add an ingredient, such as oil or butter, can result in a lack of moisture in the cake and make it dry.
By measuring ingredients correctly and ensuring all required ingredients are included, you can avoid the disappointment of a dry cake and create a moist and delicious dessert that everyone will enjoy.
The Impact of Ingredient Substitutions.
Substituting ingredients in cake recipes can have unintended consequences, particularly if substituting a light version for a full-fat version or replacing eggs or leavening ingredients. These substitutions can affect the texture, moisture, and overall outcome of the cake. It’s crucial to be cautious when making substitutions and to use full-fat versions of ingredients when called for. Full-fat ingredients contribute to the moistness and flavor of the cake. Understanding the implications of ingredient substitutions can help prevent dry cakes.
Proper Mixing Techniques for Moist Cakes.
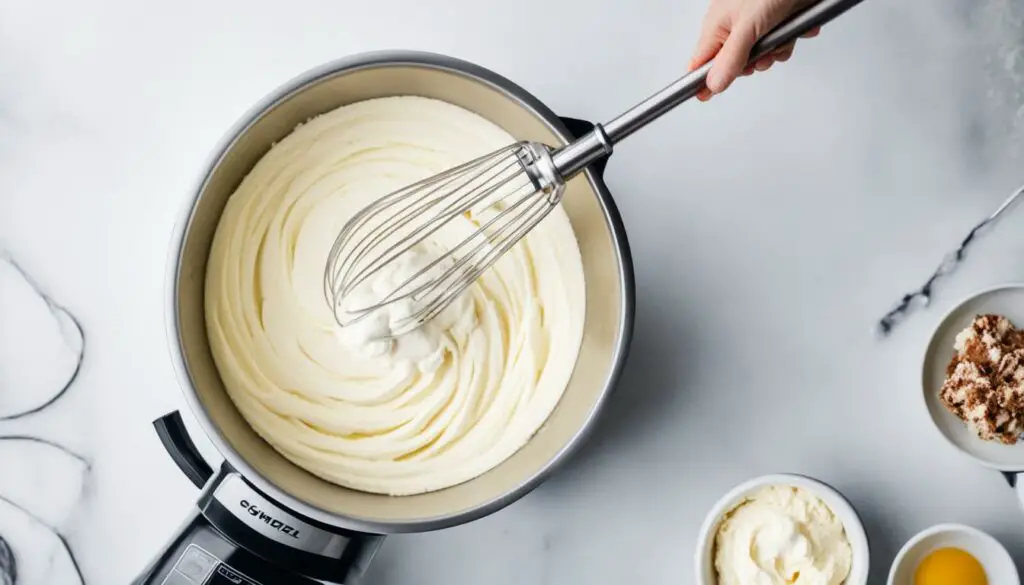
Mixing techniques play a significant role in achieving moist cakes. The way you combine the ingredients greatly impacts the texture and overall outcome of the cake. To ensure a perfect result, it’s essential to follow proper mixing techniques and pay attention to sugar’s importance in creating a moist cake texture.
1. Avoid Over-Mixing
One common mistake many bakers make is over-mixing the cake batter. Over-mixing leads to excess gluten development, resulting in a dense and dry texture. To avoid this, mix the batter just until the ingredients are combined. Once everything is well incorporated, stop mixing. This will help maintain the desired light and fluffy texture.
2. Mix Until Well-Combined
On the other hand, under-mixing can leave pockets of unmixed ingredients, resulting in an uneven texture. To ensure all the ingredients are evenly distributed, mix the batter until well combined. Scrape down the sides of the bowl and make sure there are no lumps or streaks of flour left. This will contribute to a uniform and moist cake.
3. The Importance of Sugar
Sugar not only adds sweetness to the cake but also plays a vital role in its moisture. It helps tenderize the crumb and retains moisture, resulting in a moist and tender texture. Be sure not to reduce the amount of sugar called for in the recipe unless advised by a professional baker. The right amount of sugar contributes to the overall quality and taste of the cake.
| Mixing Technique | Effect on Cake Texture |
|---|---|
| Over-Mixing | Dense and dry texture |
| Under-Mixing | Uneven texture with pockets of unmixed ingredients |
| The Right Amount of Sugar | Moist and tender texture |
By following proper mixing techniques and understanding the importance of sugar, you can achieve moist and delicious cakes every time. Remember to mix the batter just until combined, ensuring all ingredients are well incorporated. And don’t forget to use the recommended amount of sugar to create the perfect cake texture.
Conclusion.
Troubleshooting recipe failures is an essential skill for improving your baking abilities. By understanding the potential reasons behind recipe mishaps, such as dead yeast, overheating liquids, cold kitchen temperatures, insufficient rise time, wrong pan size, improper mixing, and ingredient substitutions, you can take proactive measures to ensure better baking outcomes.
Instead of getting discouraged by recipe failures, embrace them as valuable learning experiences and opportunities for growth. With practice and attention to detail, you can refine your recipes, troubleshoot any issues that arise, and enjoy consistently delicious results. Remember, every failed recipe is just a step closer to becoming a master baker.
So, don’t be afraid to experiment, adapt, and refine your techniques. Explore recipe troubleshooting solutions, such as proper yeast storage, using a kitchen thermometer, maintaining the right kitchen temperature, allowing sufficient rise time, choosing the right pan size, following proper mixing techniques, and being mindful of ingredient substitutions. These strategies will not only help you overcome recipe challenges but also elevate your baking skills to new heights.
FAQ
Why does a recipe not work sometimes?
There are several common reasons why a recipe may not work, including issues with yeast, temperature, rise time, pan size, ingredient measurement, and substitution. Troubleshooting these factors can help improve the outcome of your recipes.
What is the reason for a recipe not rising properly?
One of the common reasons for a recipe not rising properly is the use of old dead yeast. Yeast that has been stored incorrectly or for too long may not be active. It’s important to store yeast properly in an airtight container in the freezer to ensure its freshness and effectiveness.
How can I prevent yeast from dying and ensure proper rising?
To prevent yeast from dying and ensure proper rising, store freshly purchased yeast in an airtight container in the freezer. This helps maintain its activity and leavening power. Avoid exposing yeast to fluctuating temperatures or storing it in a hot warehouse.
Why does overheating the recipe liquid affect yeast activity?
Yeast is sensitive to temperature and requires a specific range to thrive. When the recipe liquid, which may include fat, is too hot, it can kill off yeast cells and hinder their ability to make dough rise. To avoid this, use a kitchen thermometer to test the water temperature before adding yeast.
How can I combat a cold kitchen affecting yeast fermentation and dough rising?
Yeast prefers a temperature between 75°F and 90°F for proper fermentation and dough rising. If your kitchen is too cold, yeast may not be able to thrive. To combat cold temperatures, you can turn on the oven for a few minutes and then turn it off before placing the dough inside to rise. Alternatively, you can place the dough on top of the refrigerator, which provides a slightly warmer environment.
Why is sufficient rise time important for bread dough?
Dough requires enough time to rise properly, and this can vary depending on various factors such as room temperature, yeast activity, and the type of flour used. Rushing the rise time may result in a loaf that doesn’t rise as expected. It’s important to exercise patience and allow the dough adequate time to rise, as a longer rise time often contributes to a more flavorful bread.
How does the pan size affect the rising of bread dough?
Sometimes, if a loaf doesn’t look like it has risen, it may be due to using the wrong size pan. Choosing the appropriate pan size is crucial for achieving optimal rise and shape. Using a pan that is too large for the amount of dough can result in a flatter loaf. It is recommended to select the right pan size based on the amount of flour used in the recipe.
What can I do with dough that didn’t rise properly?
Even if the dough didn’t rise, it can still be repurposed into other delicious treats. You can make homemade crackers, cook it over an open fire, bake it into flatbreads, fry it into thin dough and spread it with butter and honey, or toast it for homemade salad croutons. There are endless possibilities to transform the unused dough into tasty alternatives.
What are common reasons for dry cakes?
Dry cakes can result from measuring ingredients improperly, such as packing down the flour or forgetting to add an ingredient. Imbalances in the recipe can lead to a dry texture. It’s important to measure ingredients properly by spooning dry ingredients into measuring cups and double-checking that all required ingredients are added.
How do ingredient substitutions impact the outcome of cakes?
Substituting ingredients in cake recipes, especially using a light version for a full-fat version or replacing eggs or leavening ingredients, can affect the texture, moisture, and overall outcome of the cake. To prevent dry cakes, it’s crucial to be cautious when making substitutions and use full-fat versions of ingredients as required by the recipe.
What mixing techniques contribute to moist cakes?
Mixing techniques play a significant role in achieving moist cakes. Over-mixing the batter or not mixing it well enough can result in a dry or dense texture. It’s important to mix the cake batter only until the ingredients are well combined, following the recipe’s instructions. Additionally, the right amount of sugar is crucial for moisture in cakes, so it should not be reduced.
How can recipe troubleshooting improve my baking skills?
By troubleshooting recipe failures and understanding the potential reasons behind them, you can improve your baking skills. Addressing issues such as dead yeast, overheating liquids, cold kitchen temperatures, insufficient rise time, wrong pan size, improper mixing, and ingredient substitutions can lead to more successful baking outcomes. Embrace recipe failures as opportunities to learn and grow as a baker, and with practice and attention to detail, you can perfect your recipes and enjoy consistently delicious results.

